 knowledge kit19
To capture leads using a gmail address follow the steps mentioned below:

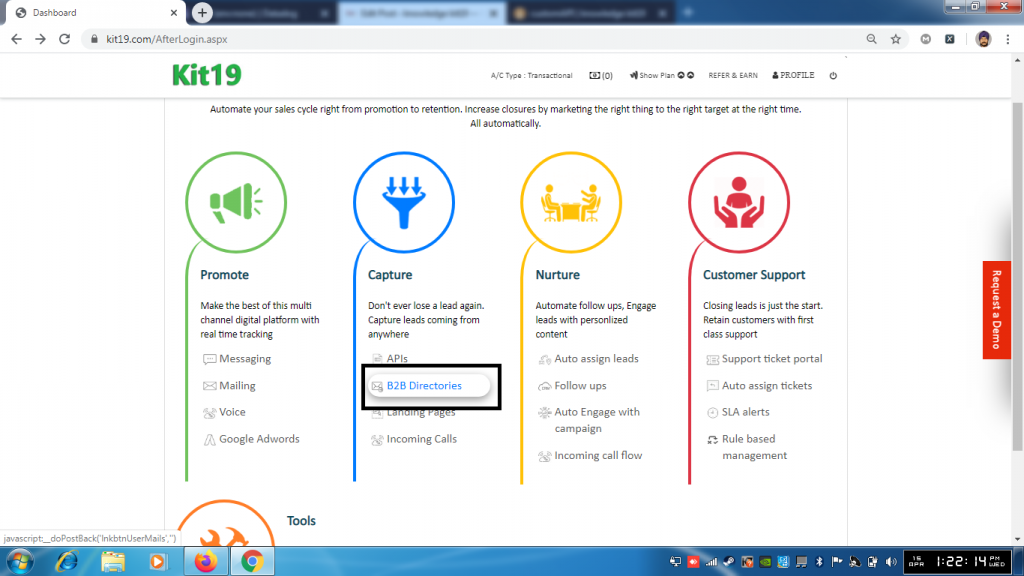
- Click B2B Directories
- Copy your virtual email address (Note:When you signup with kit19.com, you are given a virtual email address by default)
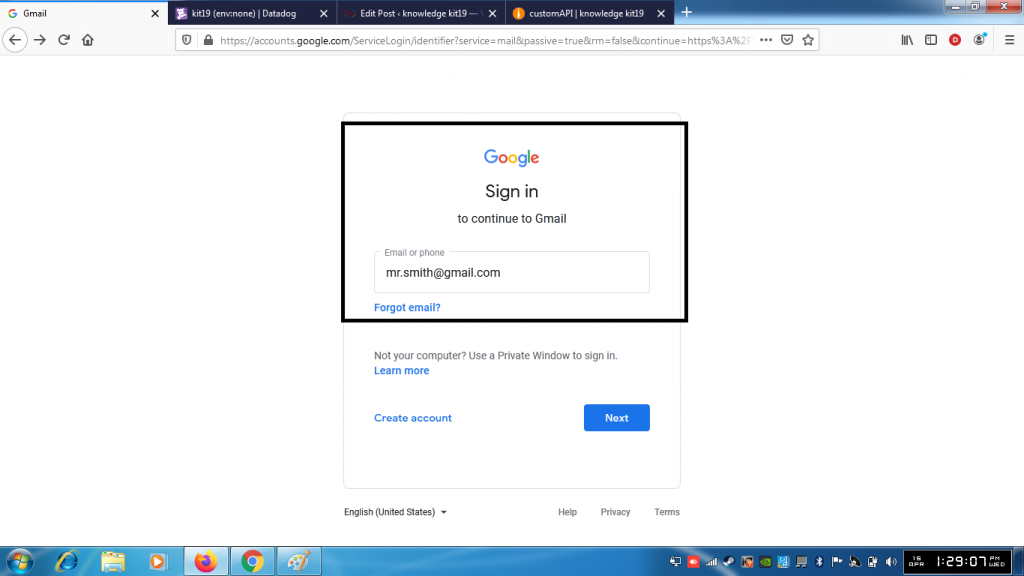
- Log into the your Gmail account from which you want to capture the leads
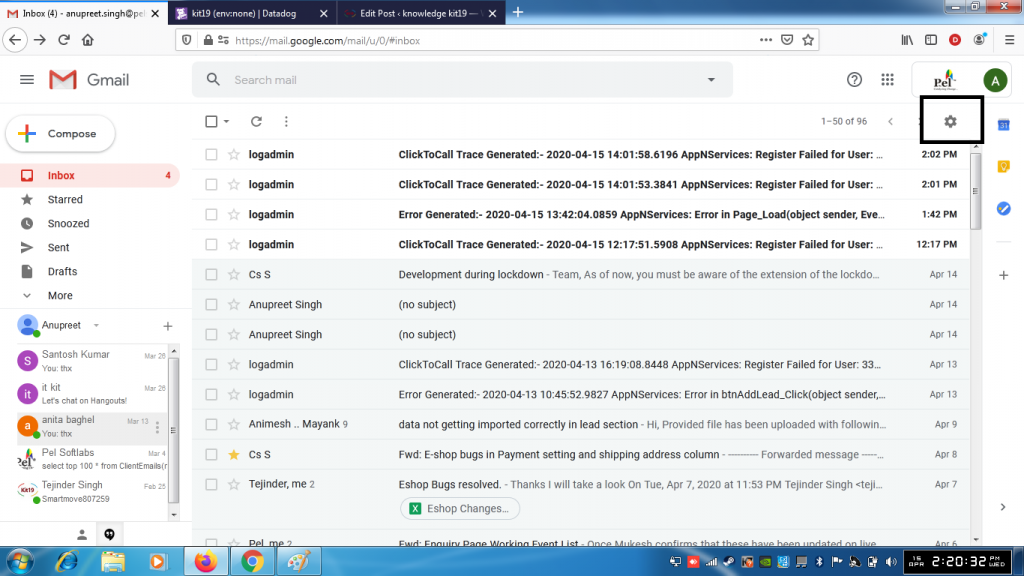
- Click on the settings icon
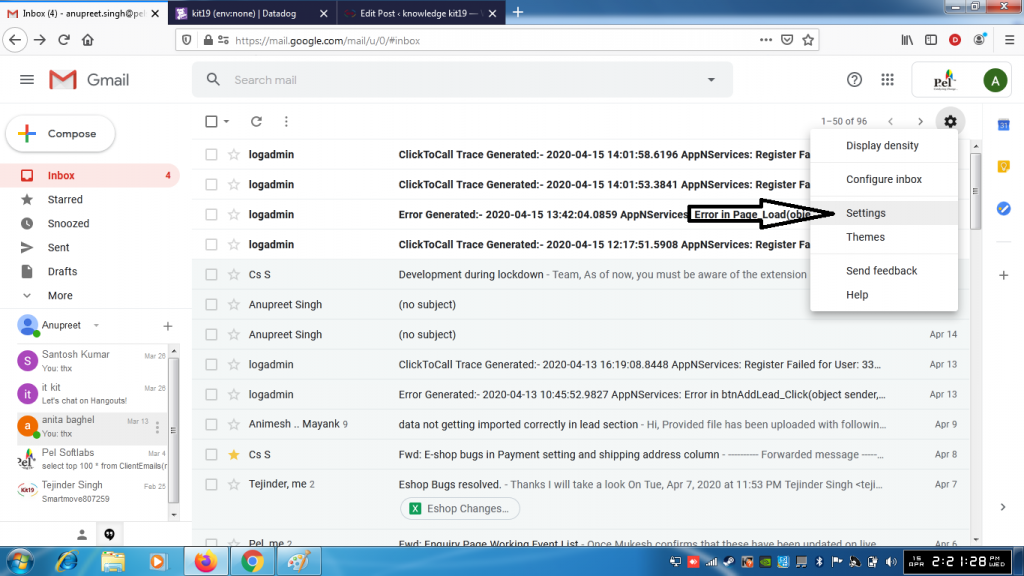
- Click on Settings
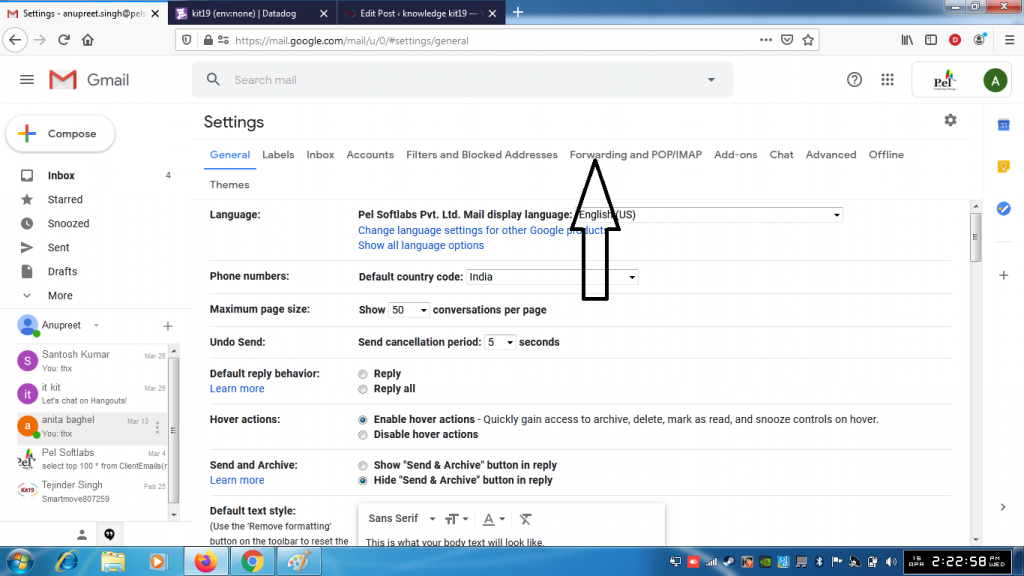
- Click on Forwarding and POPIMAP
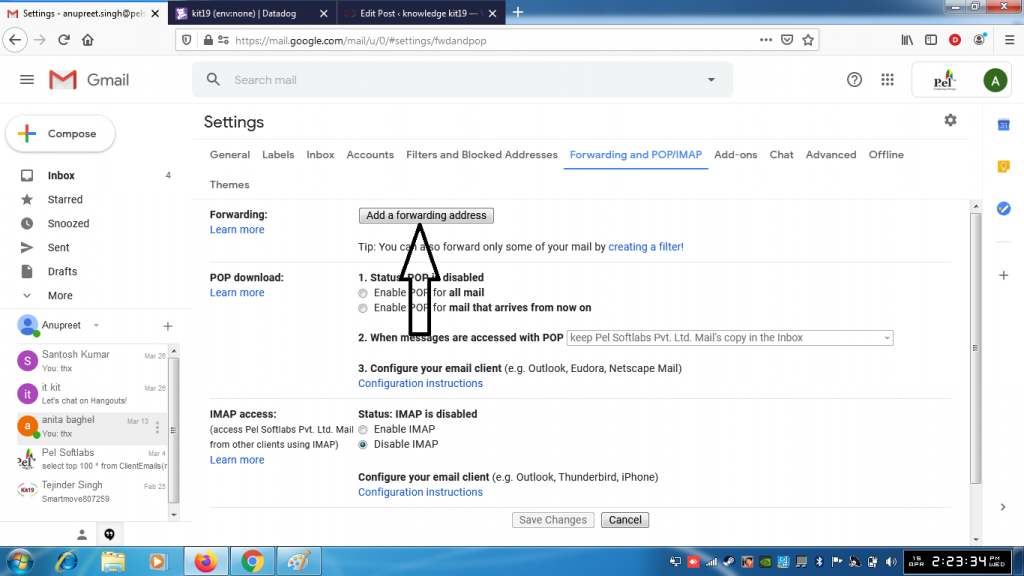
- Click on Add a forwarding address
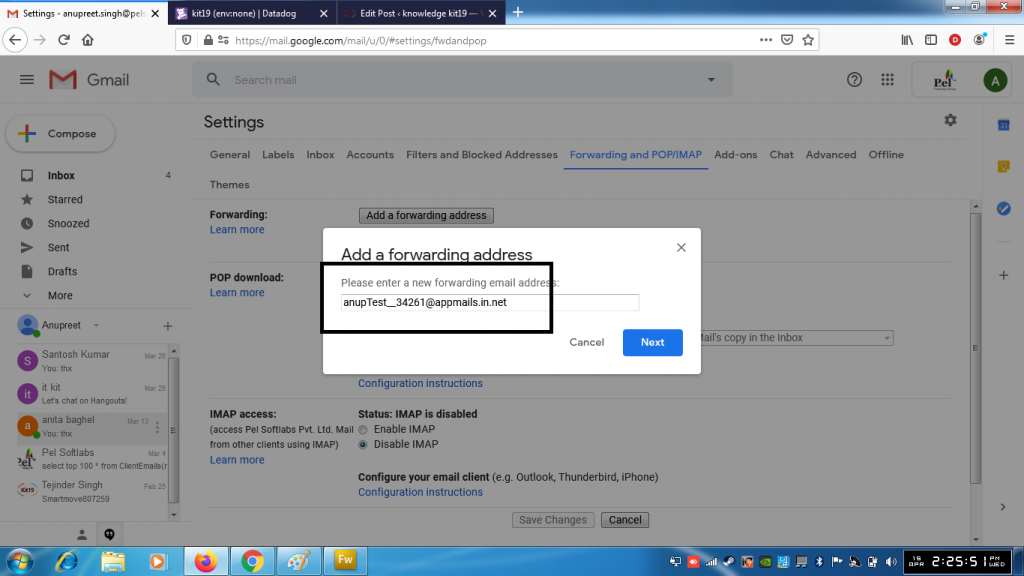
- Paste your virtual email address
- And follow the onscreen prompts
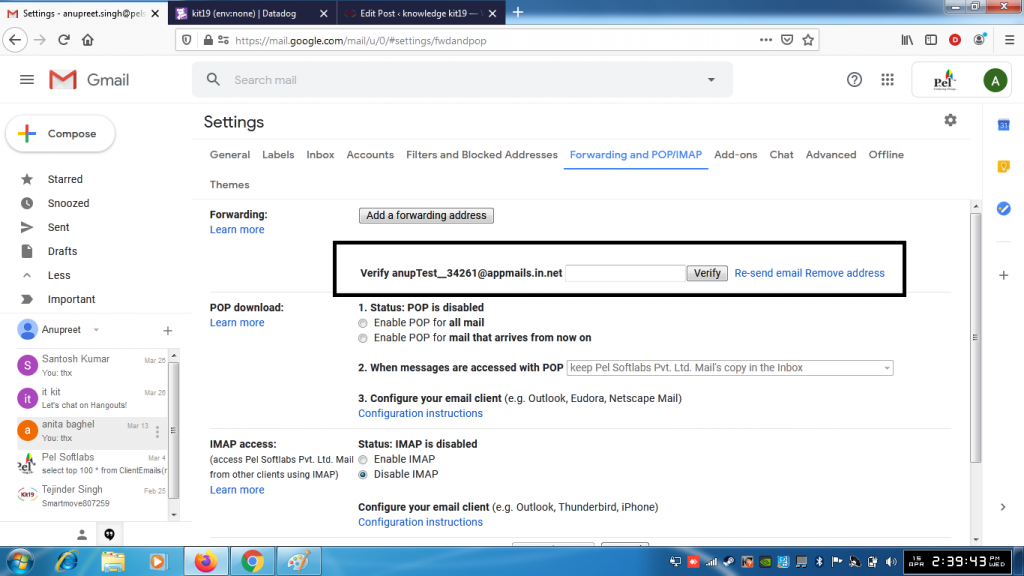
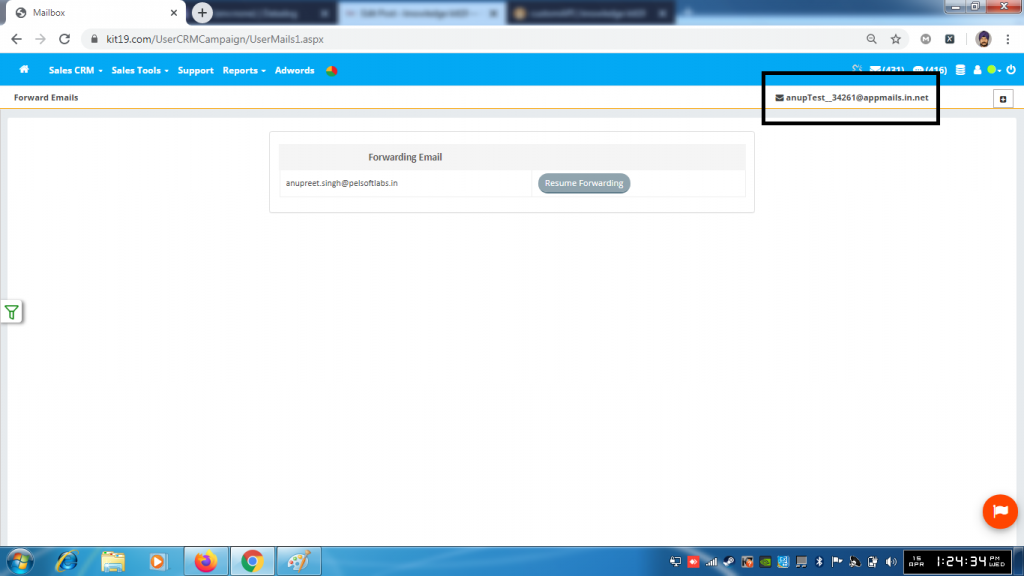
- Your email provider will ask you to verify the virtual email address ( anupTest__34261@appmails.in.net)
- Go to kit19.com
- Click on B2B Directories

- Click on Sales CRM
- Click on Get Leads
- Click on Mails
- Click on Forwarding
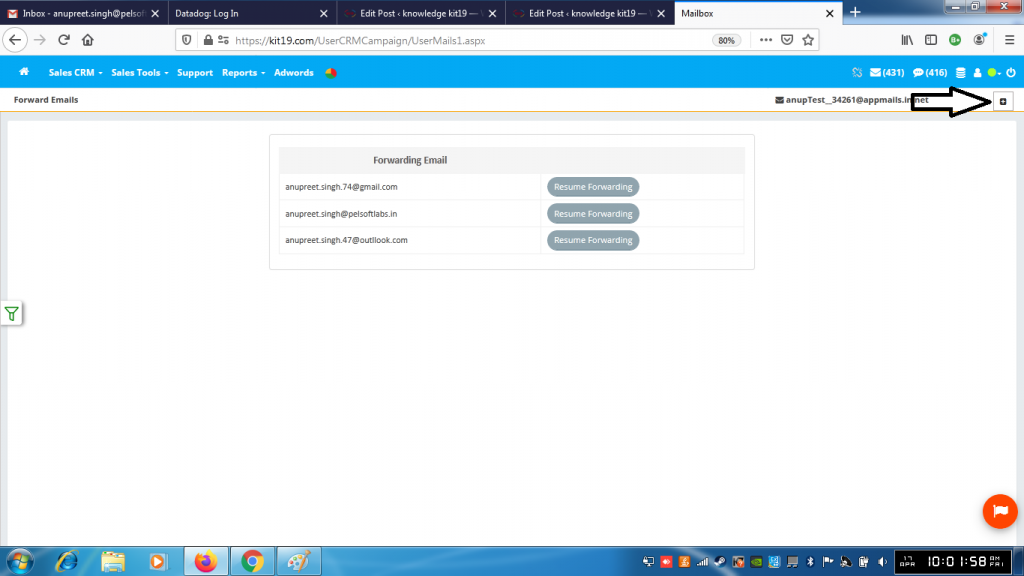
- Click on + button
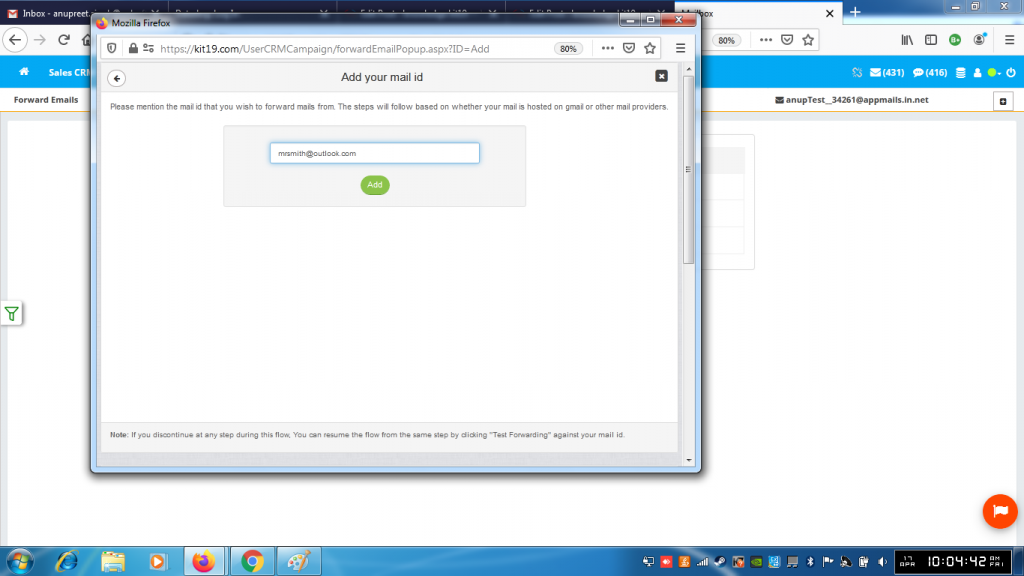
- Enter your Gmail address
- Click the Add button
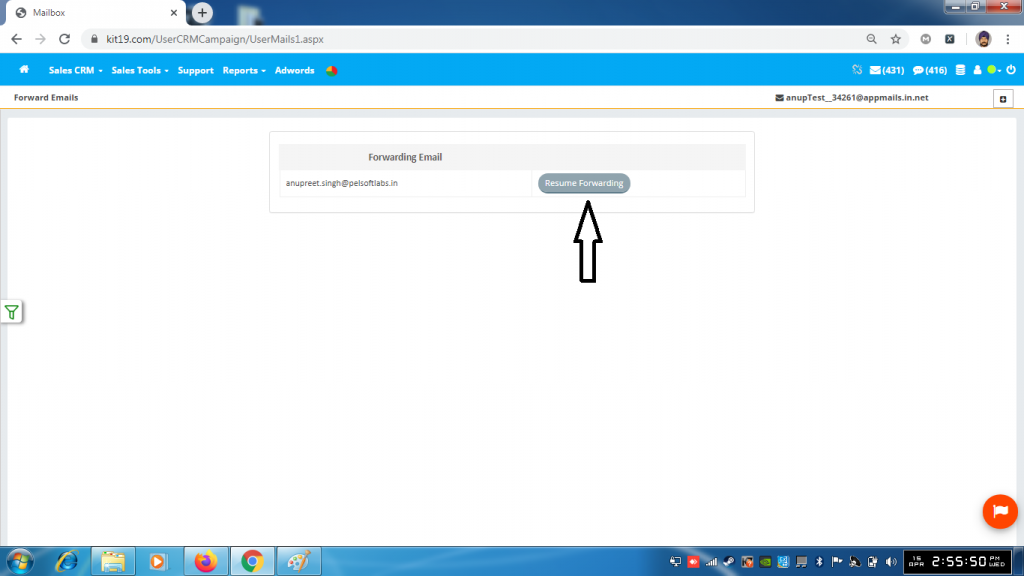
- Click Resume Forwarding next to your Gmail address
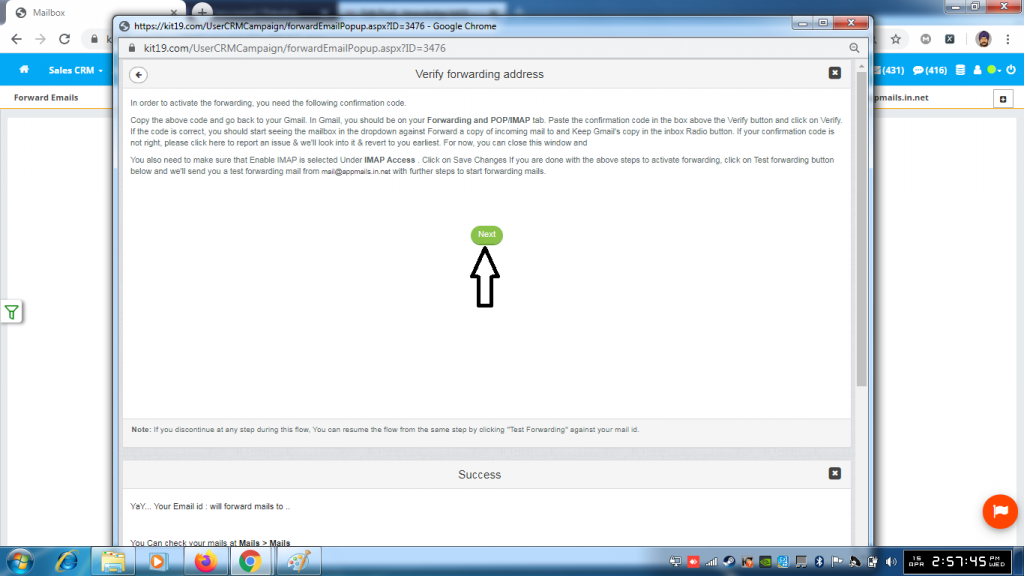
- Click Next
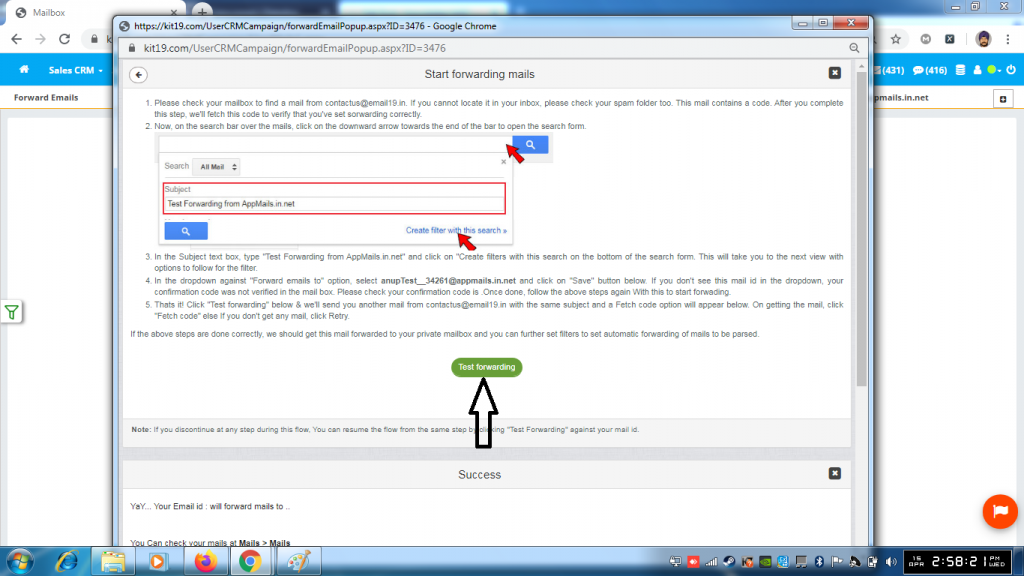
- Click Test forwarding
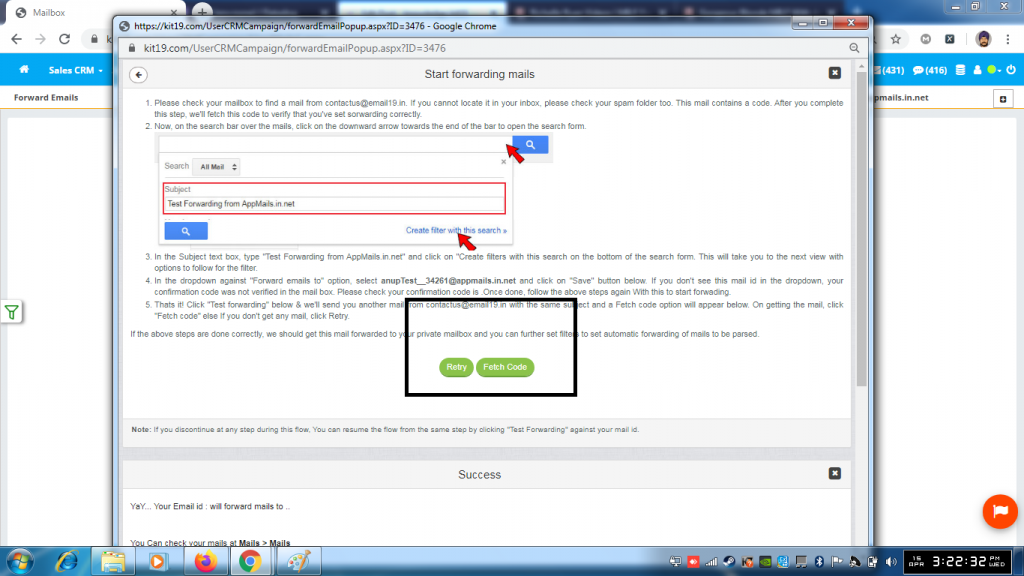
- Wait for the system to complete the process
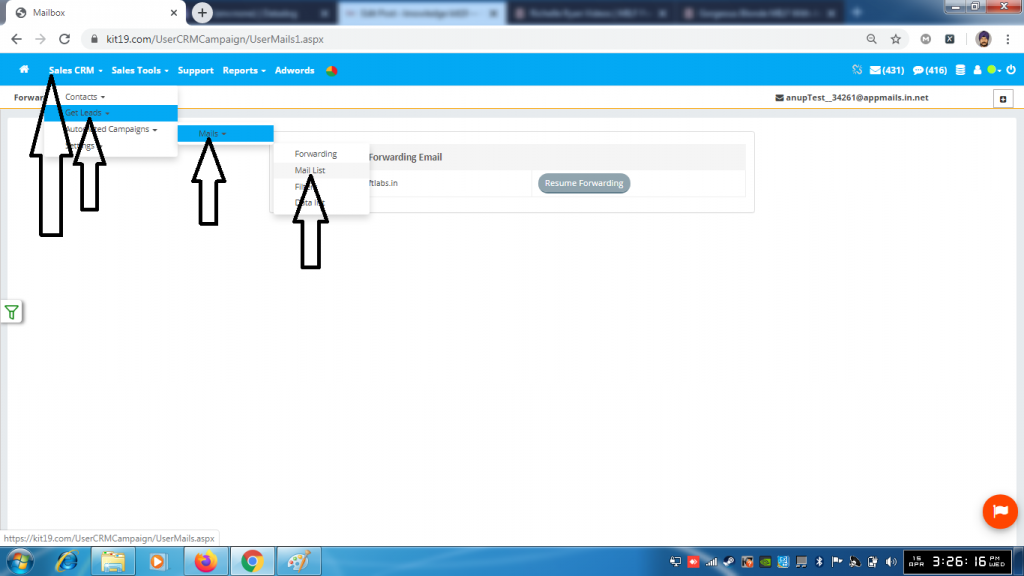
- Click Sales CRM
- Click Get Leads
- Click Mails
- Click Mail List
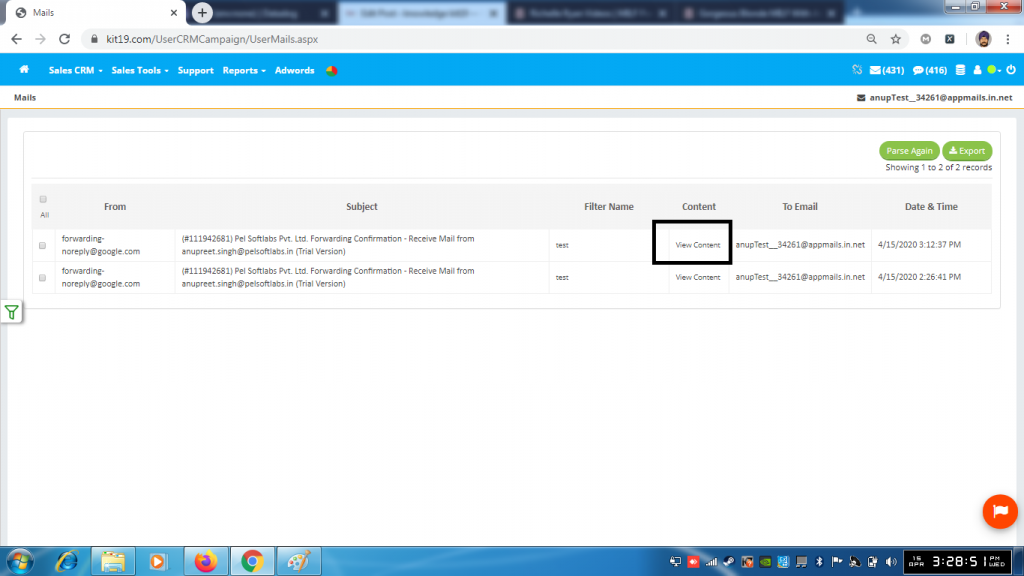
- Click View Content on the top most mail
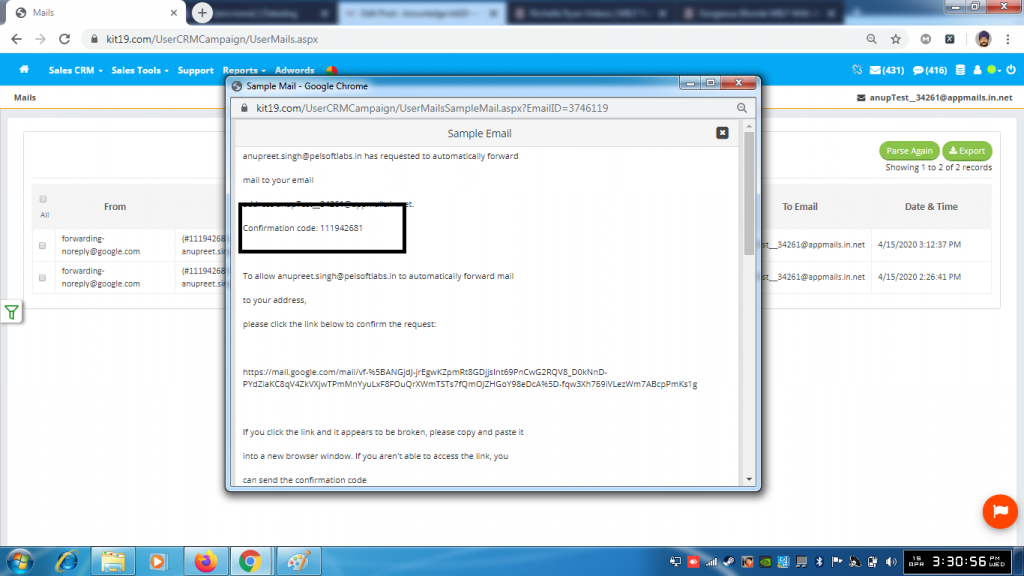
- Copy the confirmation code
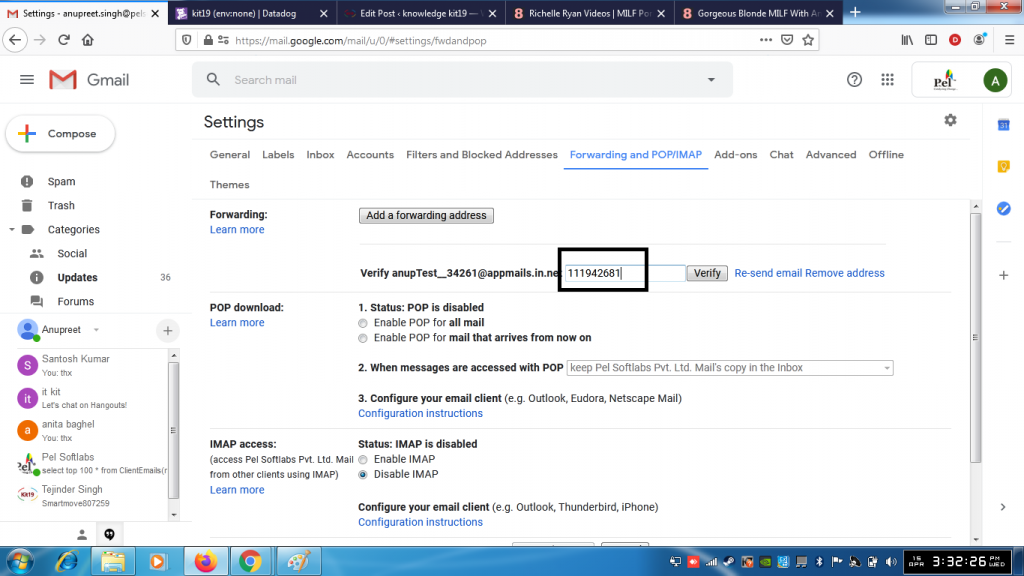
- Go to your Gmail account settings page
- Paste the confirmation code
- Click verify
- Go to kit19.com
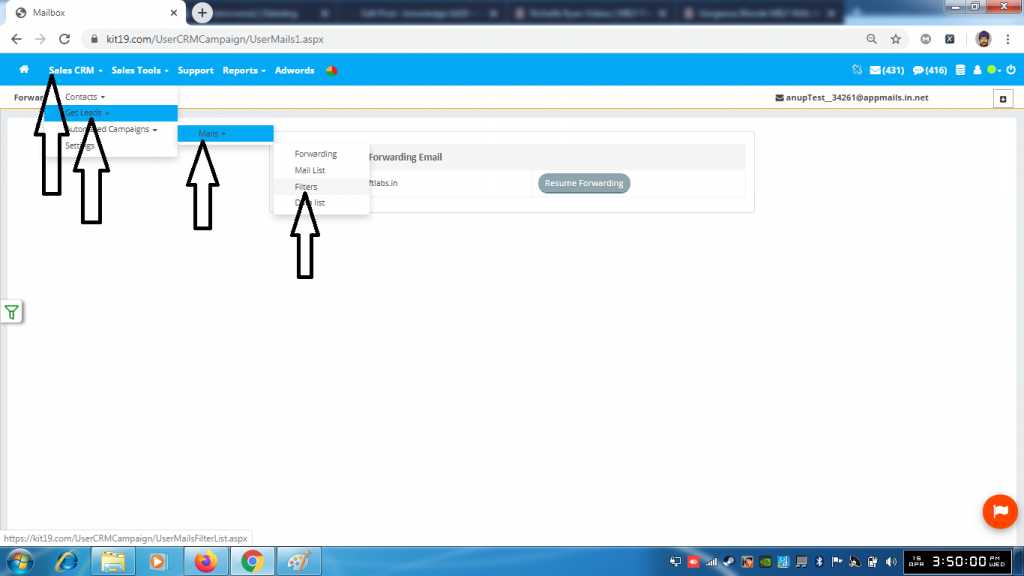
- Click Sales CRM
- Click Get Leads
- Click Mails
- Click Filters
Case 1: Creating a mapped filter:
In this case all the leads would go the Enquiry screen
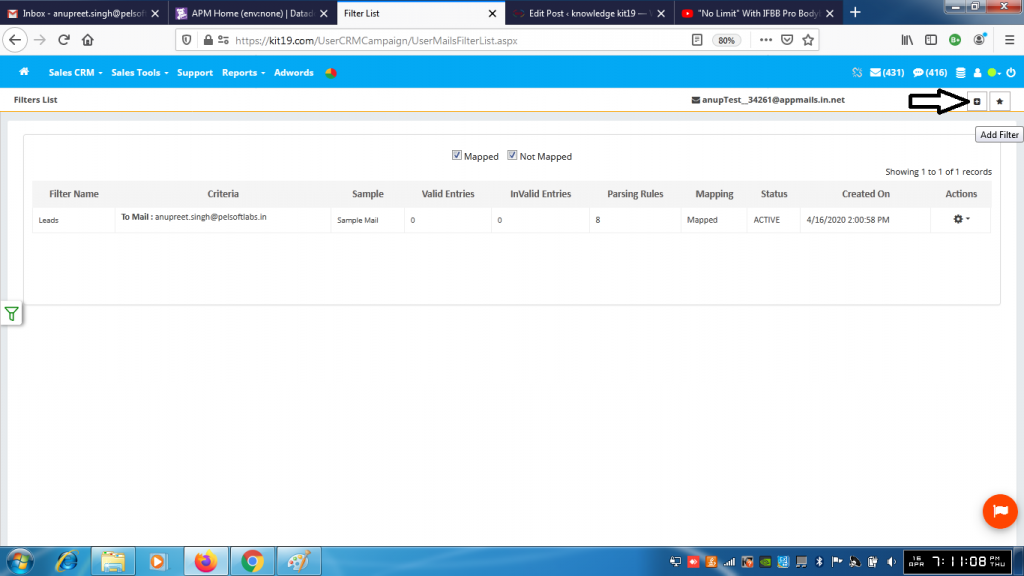
- Click the add Filter button
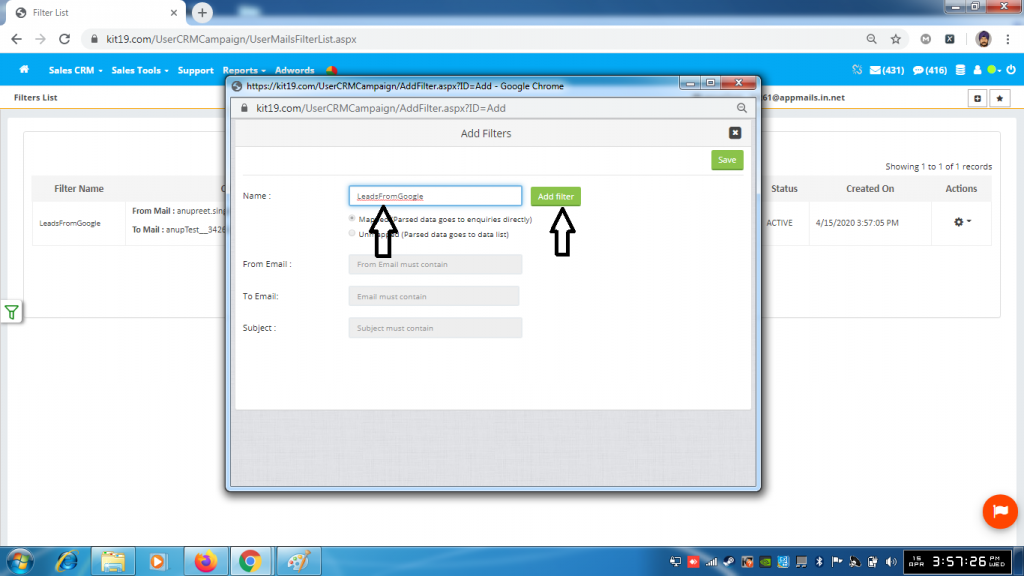
- Enter the name of the filter
- By default the Mapped radio button is selected (In this case all your leads would go to the Enquiry Screen)
- Click Add filter button
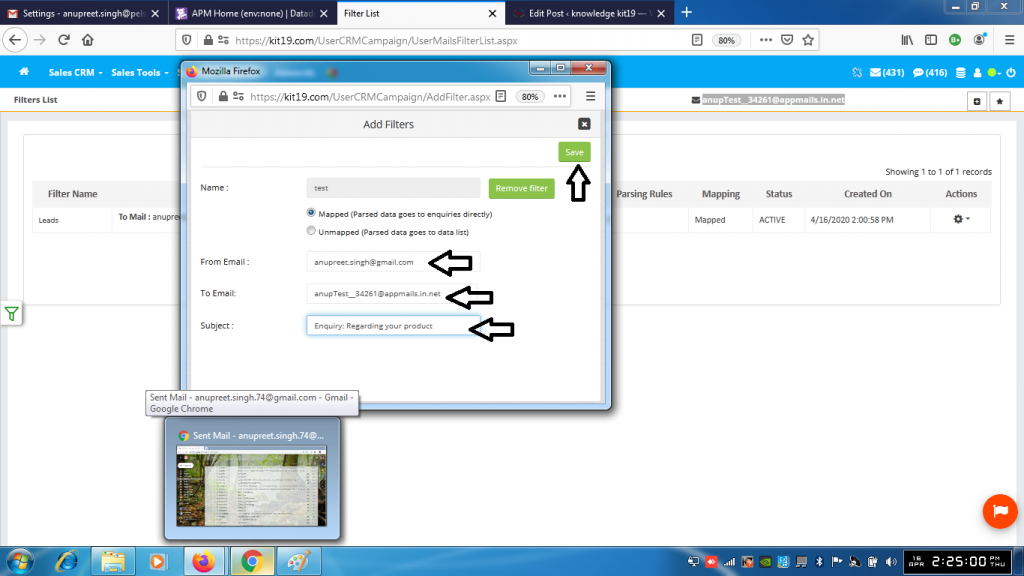
- In the from Email field enter your Gmail address (Mandatory)
- In the To Email field enter your virtual email address (Optional)
- In the Subject field enter the subject the forwarded mail should contain (Optional)
- Click Save
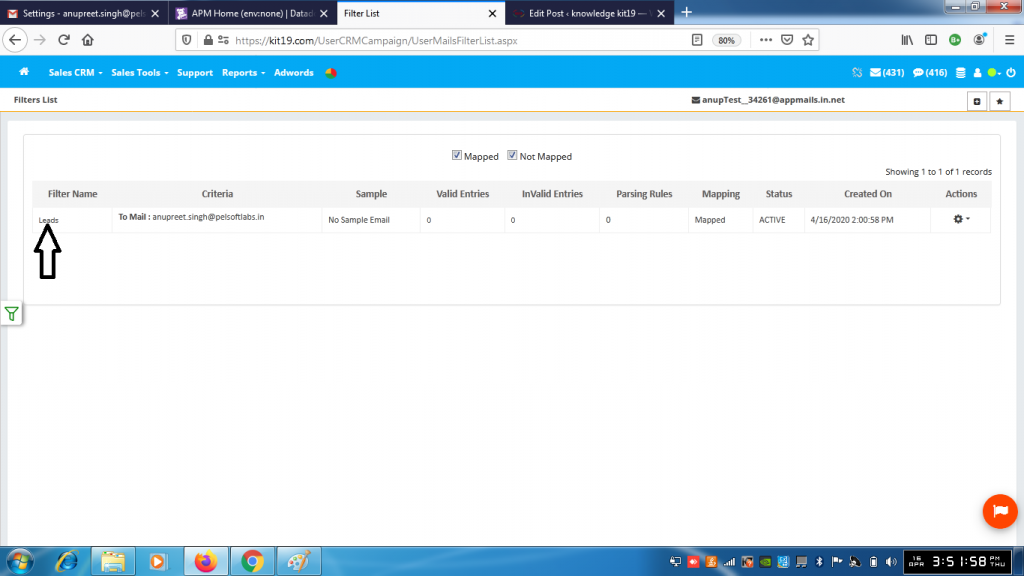
- Click the filter name
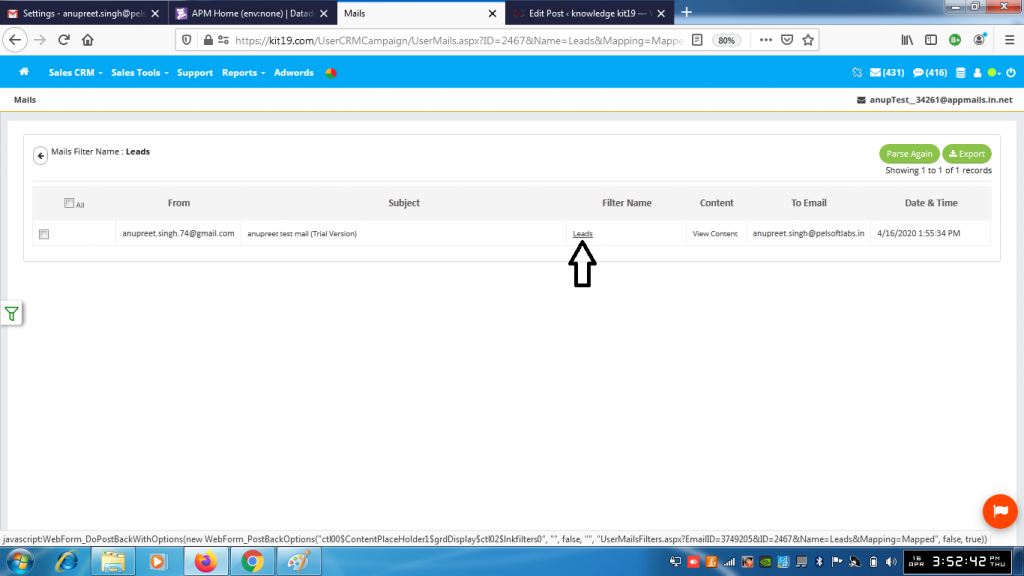
- Click the filter name
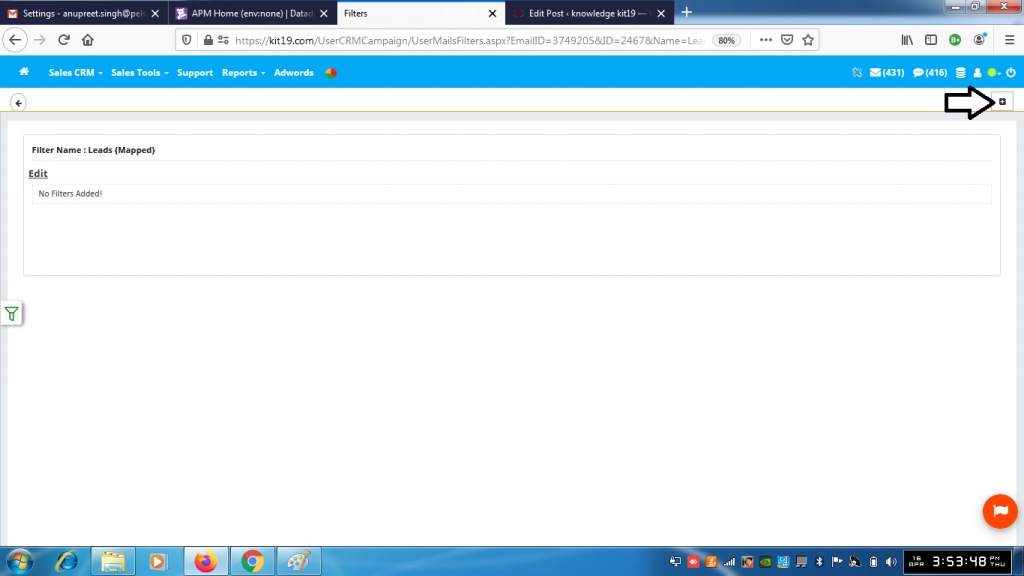
- Click the + (Add parsing) button
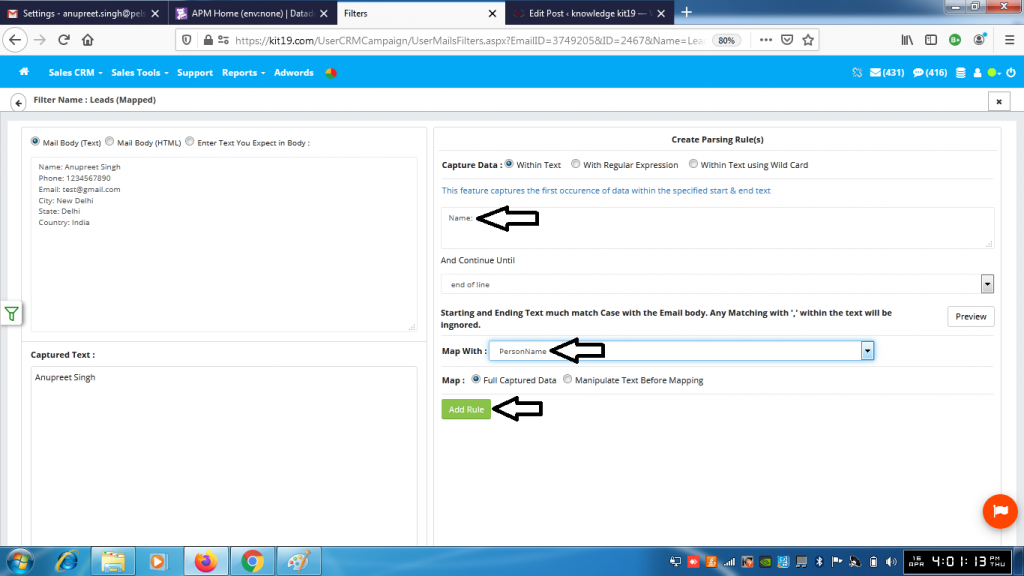
- Type Name: (along with colon ‘:’ and if there is no punctuation sign then type in Name) in the Create Parsing Rule(s) text box
- Select PersonName from the Map With drop down list
- Click the Add Rule button
- This would capture the name of the Lead
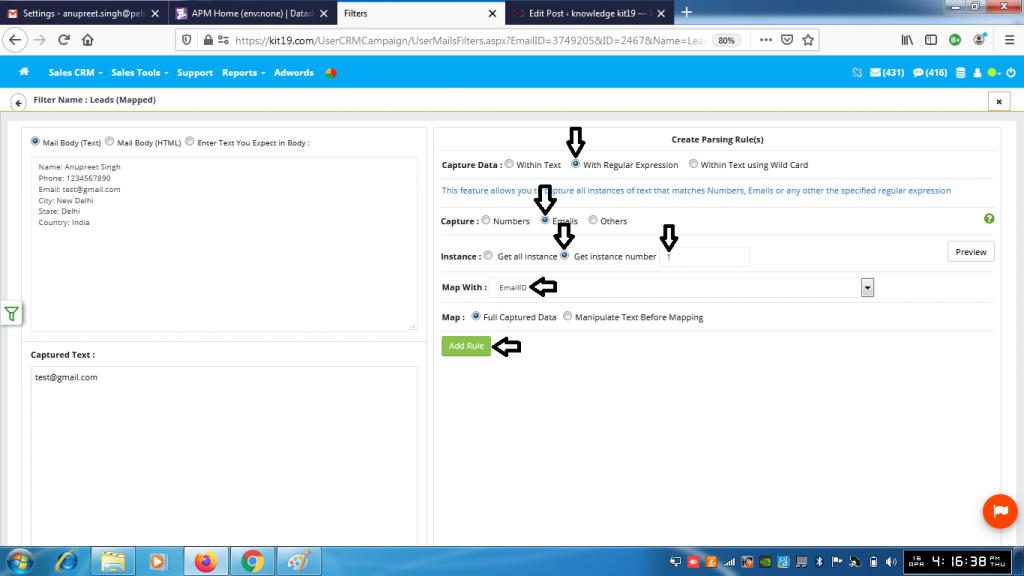
- Select With Regular Expression
- Select Emails
- Select Get Instance number
- Enter the number 1 in the text box next Instance number
- Select EmailID fro the Map With drop down list
- Click Add Rule button
- This would capture the very first Email ID of the lead

- Select With Regular Expression
- Select Numbers
- Enter 10 in the text next to Number should have min digits (Change the no of digits according the mobile number format of your country)
- Select MobileNo from Map With drop down list
- Click the Add Rule button
- This would capture the very first mobile number of the enquiry
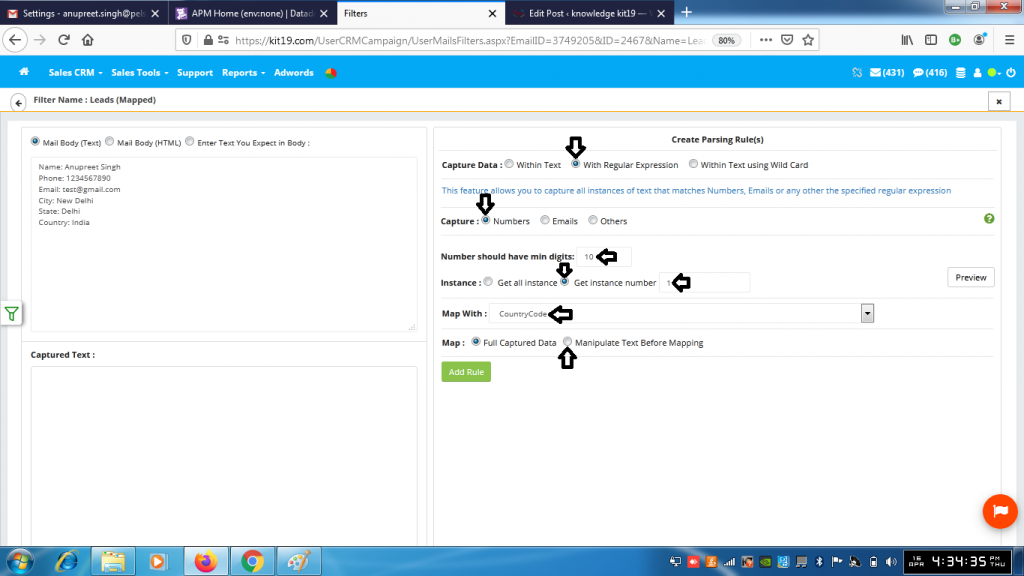
- Select With Regular Expression
- Select Numbers
- Enter 10 in the text next to Number should have min digits (Change the no of digits according the mobile number format of your country)
- Select CountryCode from the Map With drop down list
- Select the radio button Manipulate Text Before Mapping (This would open up a new pop up)
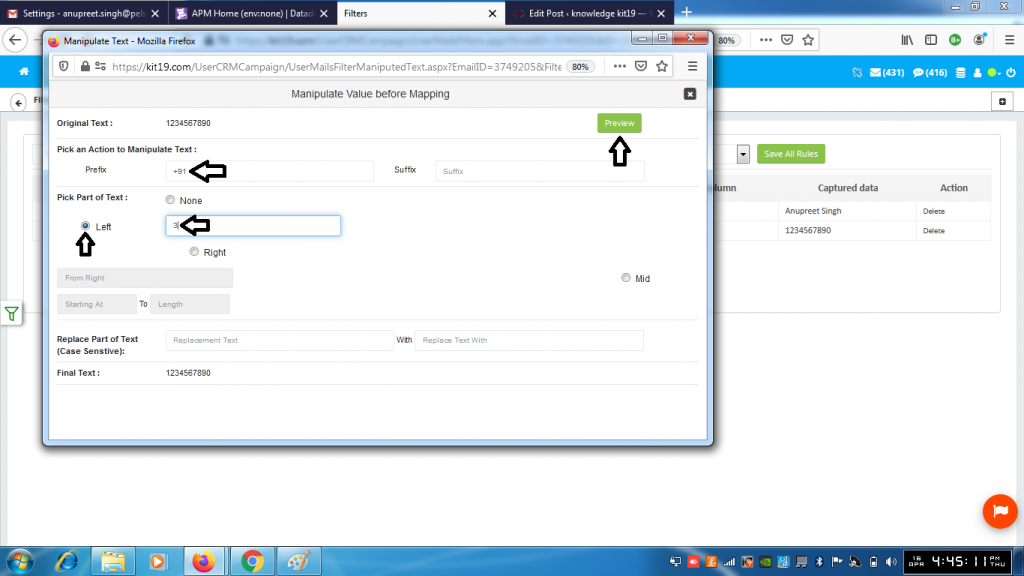
- In the prefix field enter the country code +91 (Change this as per your country code, in this case it is India)
- Under the Pick Part of Text select the radio button Left
- Enter 3 (this is equal to the total number of characters entered in the prefix field, change it according to your country code) in the text box next to the radio button Left
- Click the preview button
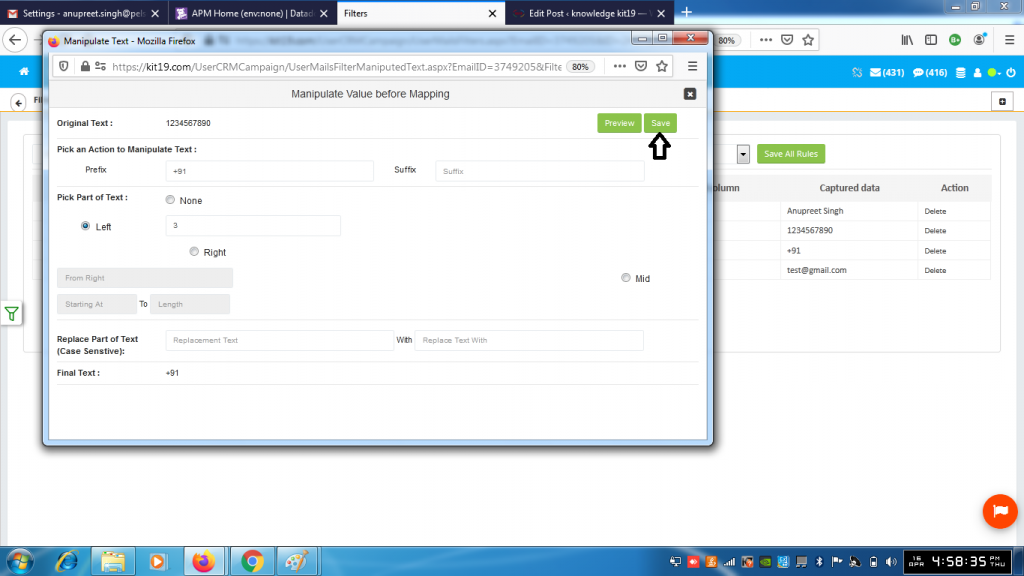
- Click the Save button
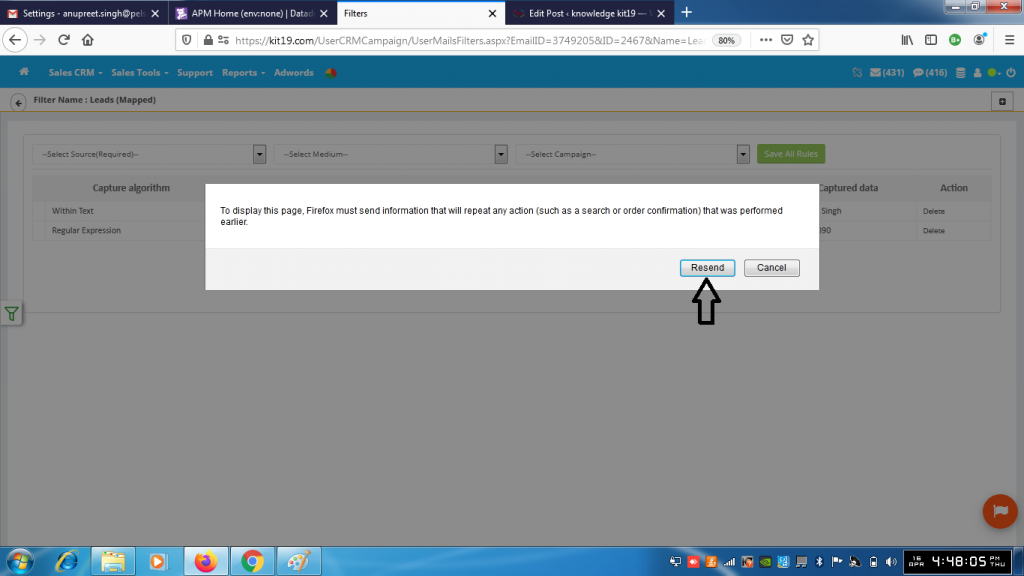
- Click Resend
- This would capture the country code of the lead
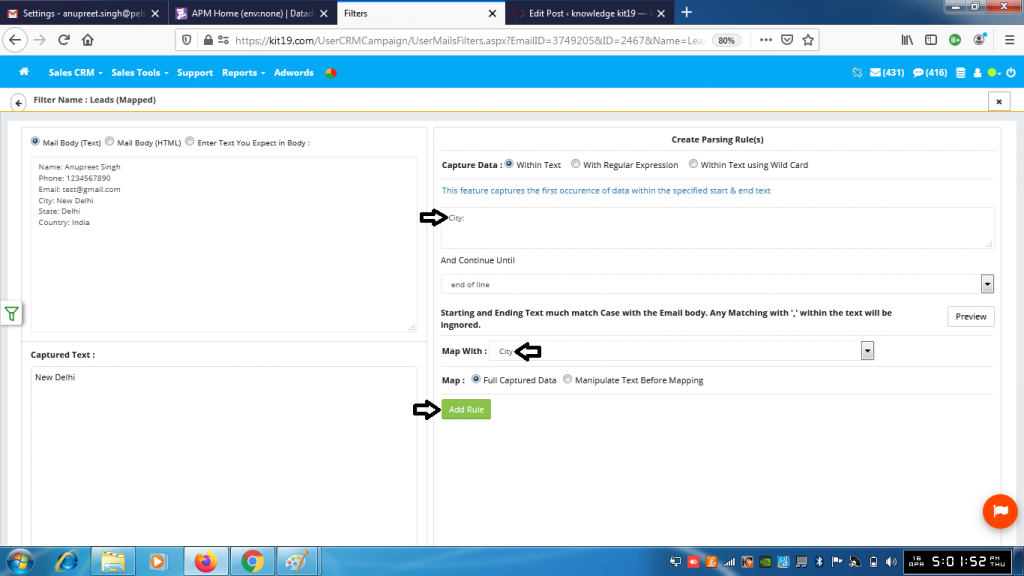
- Enter the City: (With colon ‘:’ and if there is no punctuation sign just type in City) in the text box under Create Parsing Rule(s)
- Select City from Map With drop down list
- Click the Add List button
- This would capture the city of the Lead

- Enter the text State: (With colon ‘:’ and if there is no punctuation sign then just type in State)
- Select State from the Map With drop down list
- Click the Add Rule button
- This would capture the state of the Lead
You can capture remaining fields of the lead using these steps.
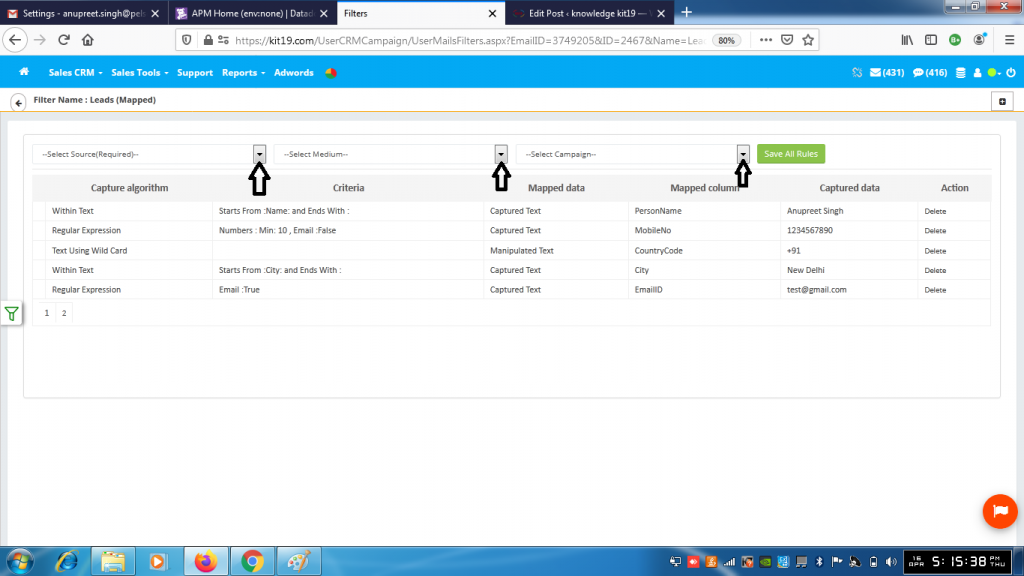
- Select a source from the Source drop down list (Mandatory)
- Select a medium from the Medium drop down list (Optional)
- Select a Campaign from the Campaign drop down list (Optional)
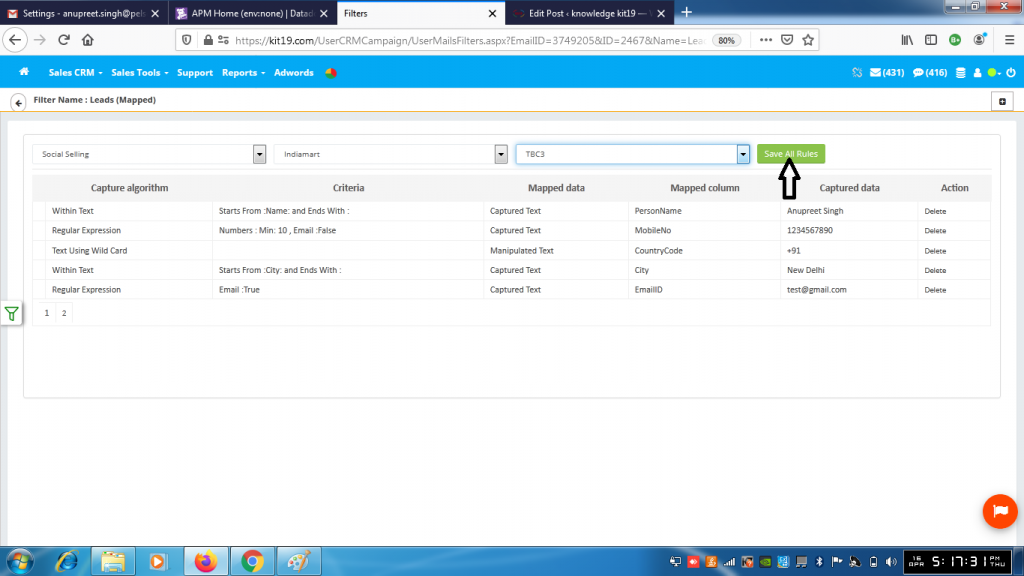
- Click the button Save All Rules
All of the leads coming from your Gmail address would be displayed on the Enquiries Page.
Case 2: Creating an unmapped filter:
If you create an unmapped filter then all the leads coming from your Gmail address would be displayed on Data List page. These leads will not be displayed in enquiry format, they would be displayed in simple data format.
- Click the add filter button
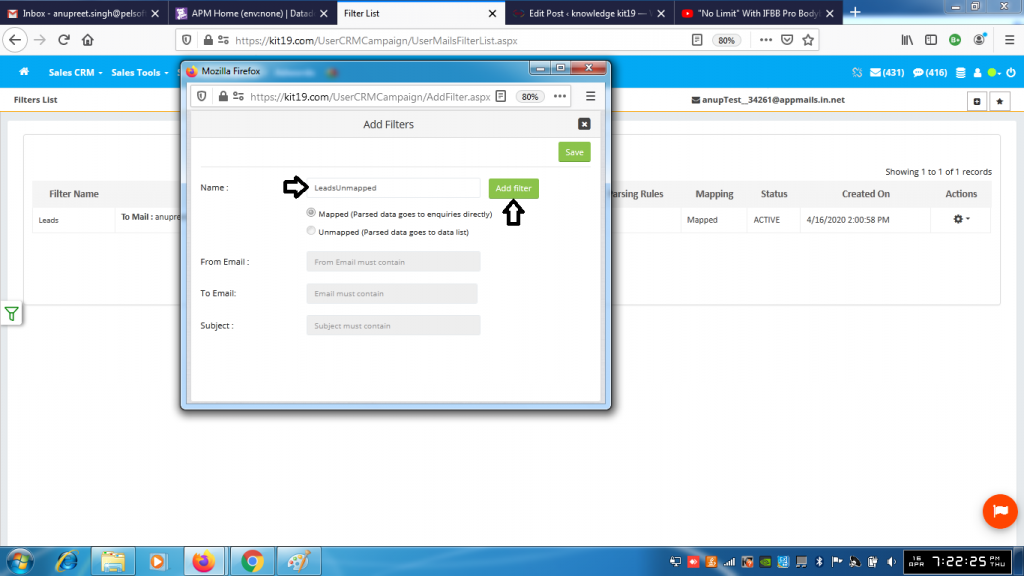
- Enter the name of the filter
- Click the Add Filter button
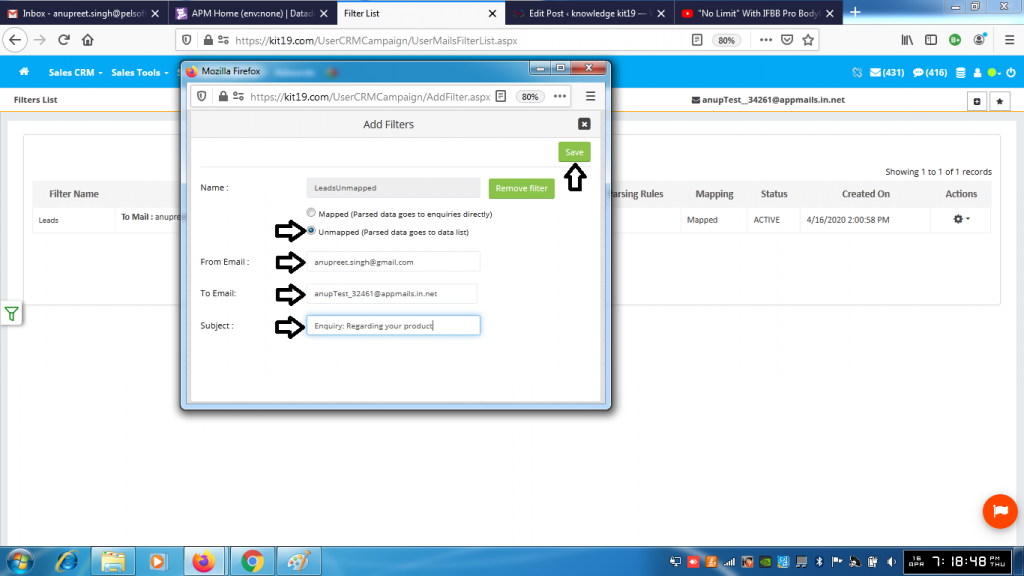
- Select the radio button Unmapped
- In the From email field enter your gmail address anupreet.singh@gmail.com (Mandatory)
- In the To Email field enter your virtual email address anupTes_34621@appmails.in.net (Optional)
- In the Subject field enter a subject of your choice (Optional)
- Click the Save button
All the Leads coming from your Gmail address will now go the DataList page.