 knowledge kit19
To understand the agent settings on the support portal follow the steps mentioned below:
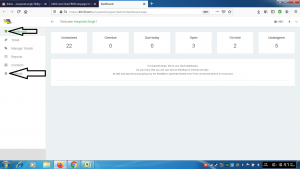
- Go to the link https://kit19.com/(your_username)/support/admindashboard.aspx
- Click the Dashboard button
- Click the Settings button

- Click the Agents button
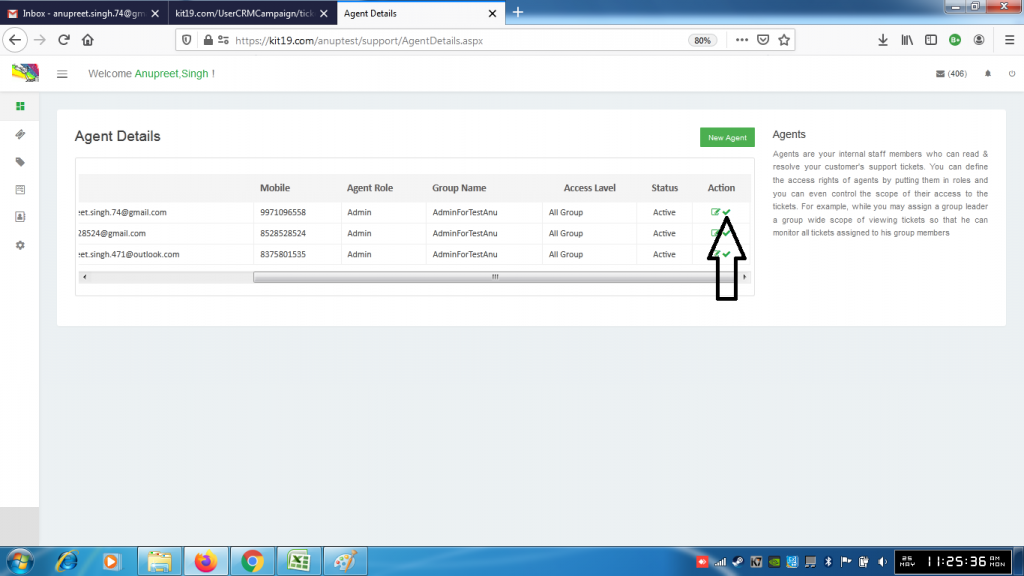
- To deactivate an agent click the icon shown in the picture above
- To reactivate the agent click the same icon again

- To edit an agent click the icon shown in the picture above
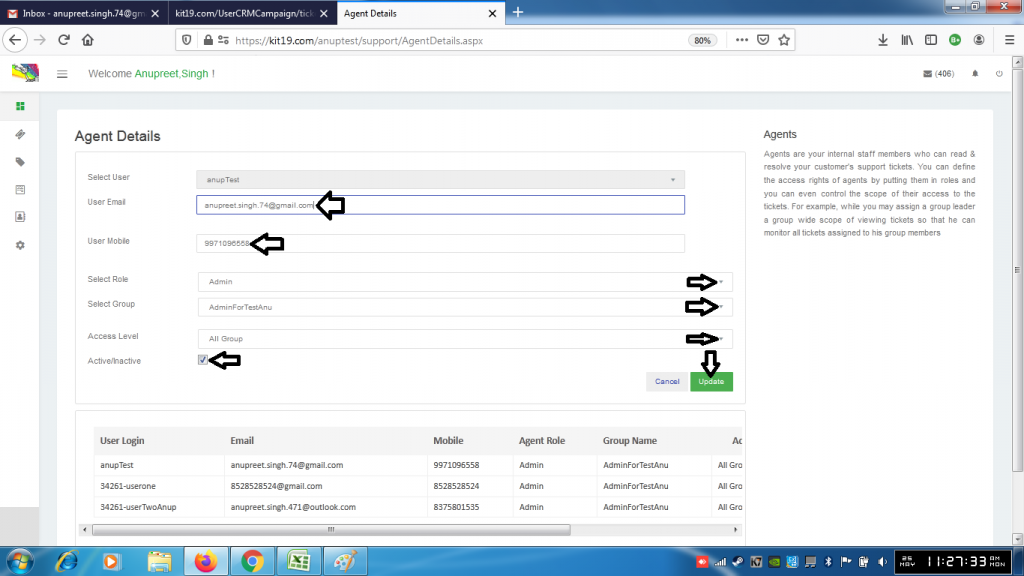
- Change the values that you want:
- User Email
- User Mobile
- Role
- Group
- Access Level
- Active/Inactive
- Click Update
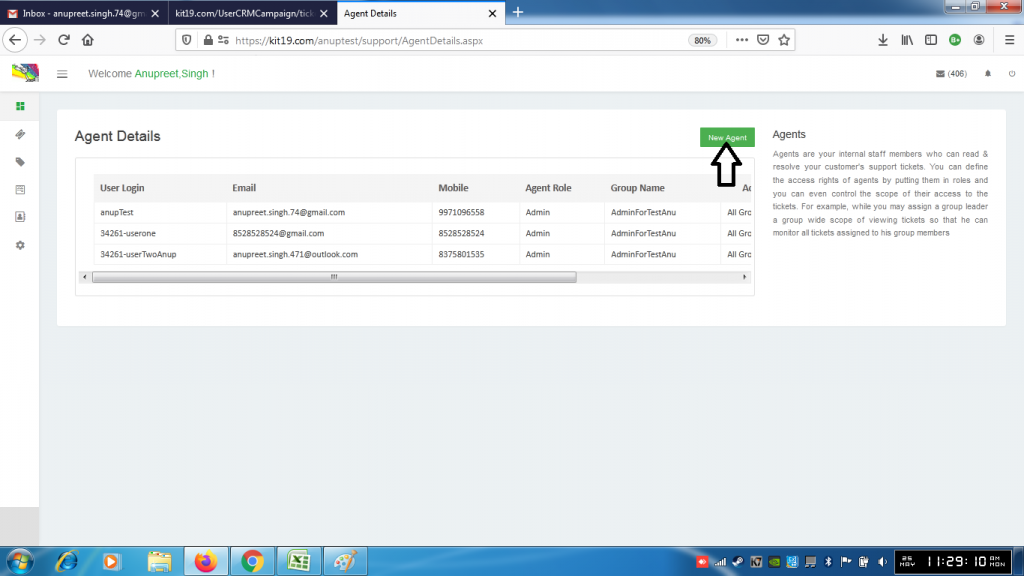
- To add a new agent click the button New Agent
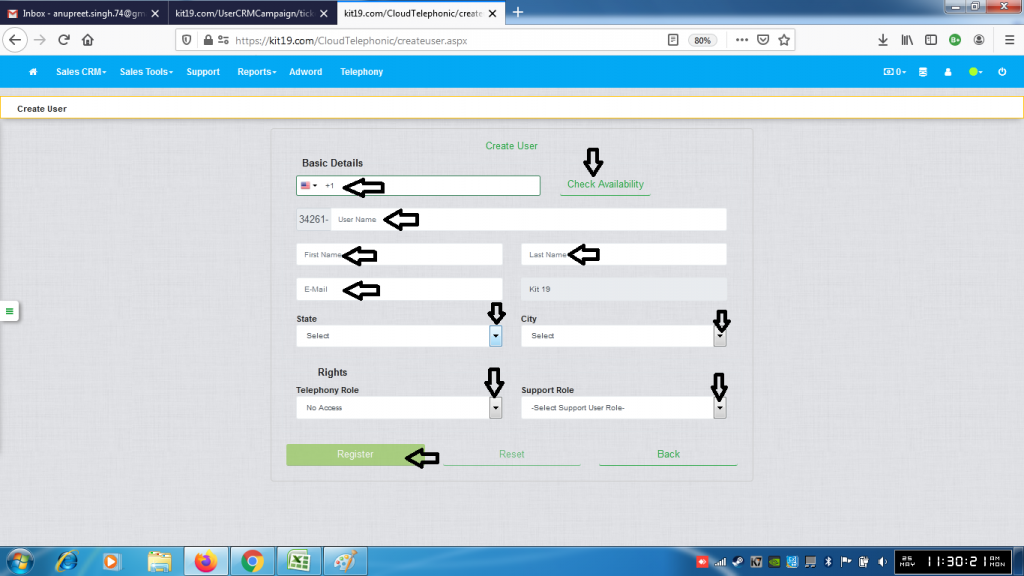
- Select country
- Enter phone number
- Enter the user name and click check availability (if the user name is not available enter a new user name)
- Enter first name
- Enter last name
- Enter email
- Select state
- Select city
- Select Telephony Role
- Select Support Role
- Click Register
A new use would be created.