 knowledge kit19
To understand the SLA policies on the support follow the steps mentioned below:
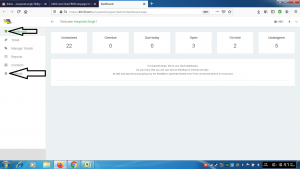
- Go to the link https://kit19.com/(your_username)/support/admindashboard.aspx
- Click the Dashboard button
- Click the Settings button
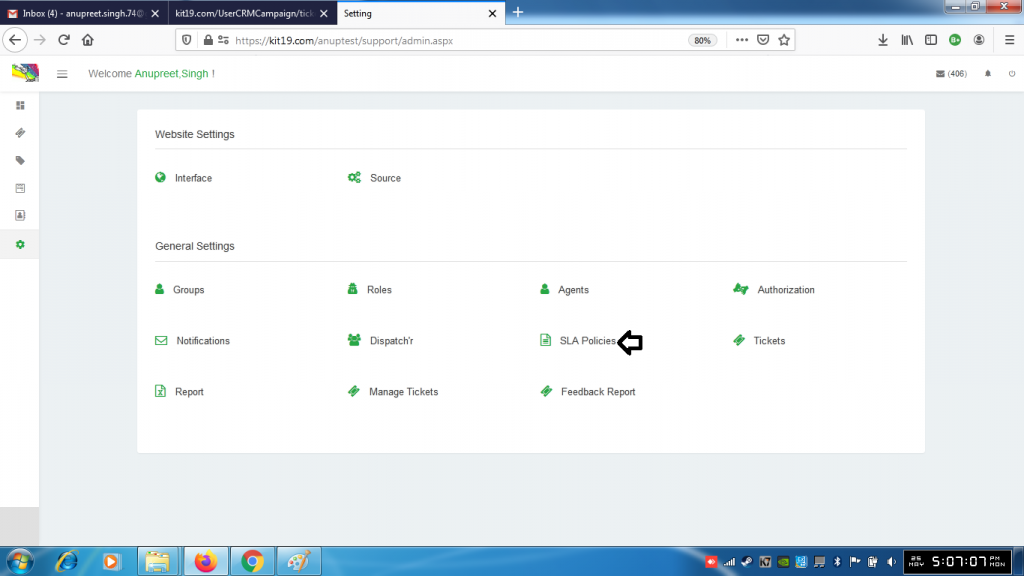
- Click SLA policies
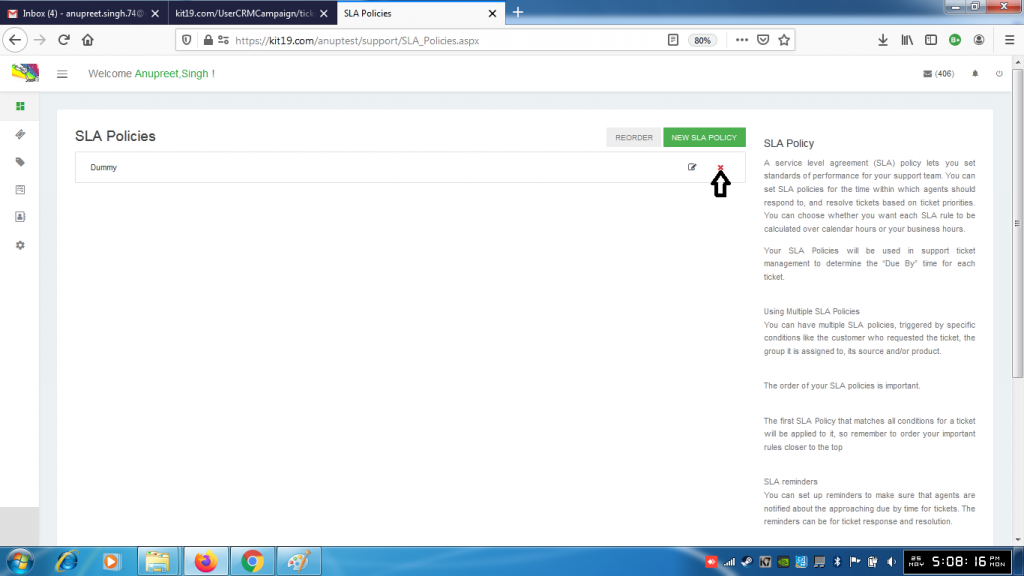
- To deactivate an SLA policy click the icon shown in the above image
- To reactivate the SLA policy click the same icon again
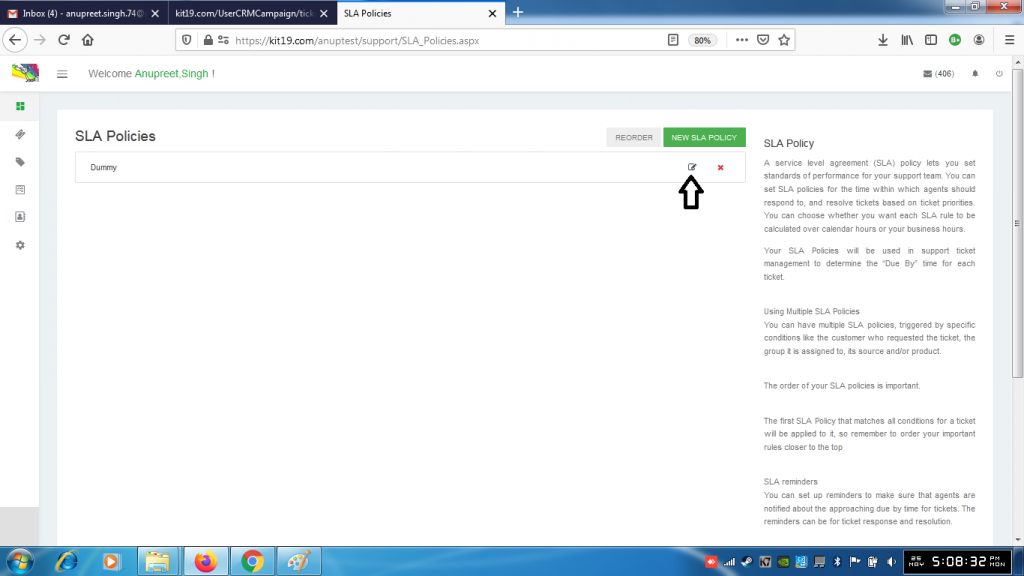
- To edit an SLA policy click the edit button
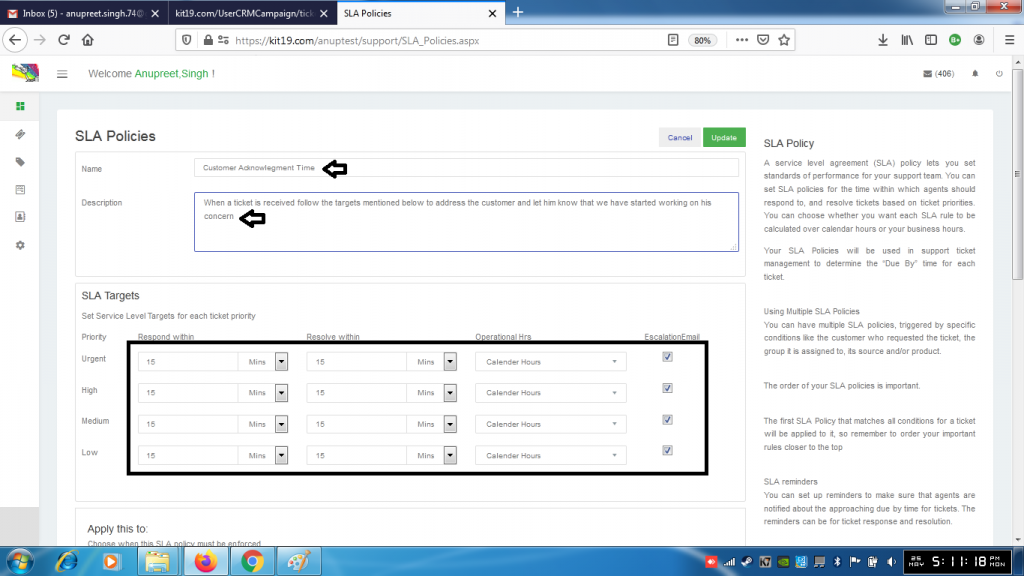
- Change the values you want
- Continue to change the values you want
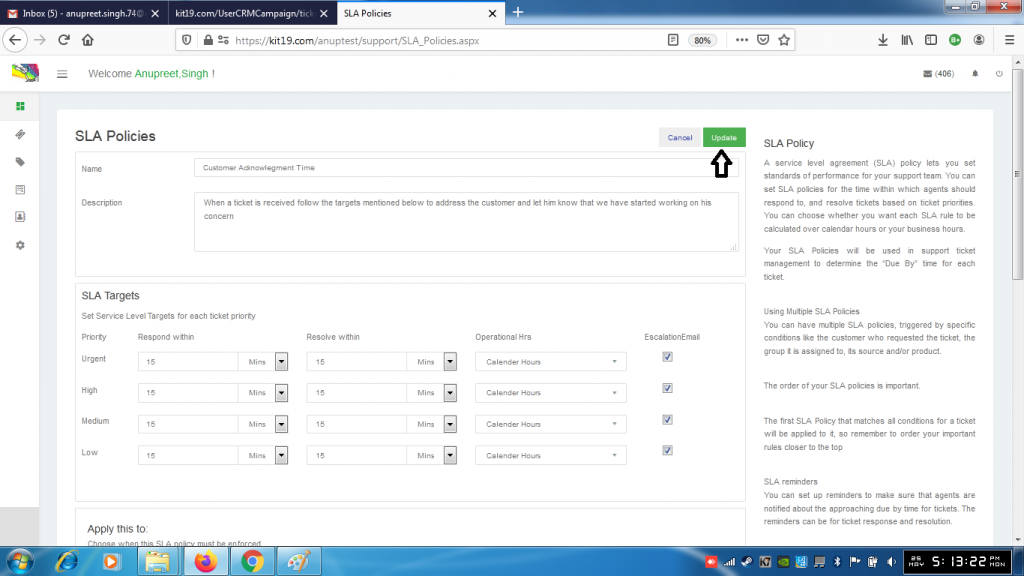
- Click the Save button
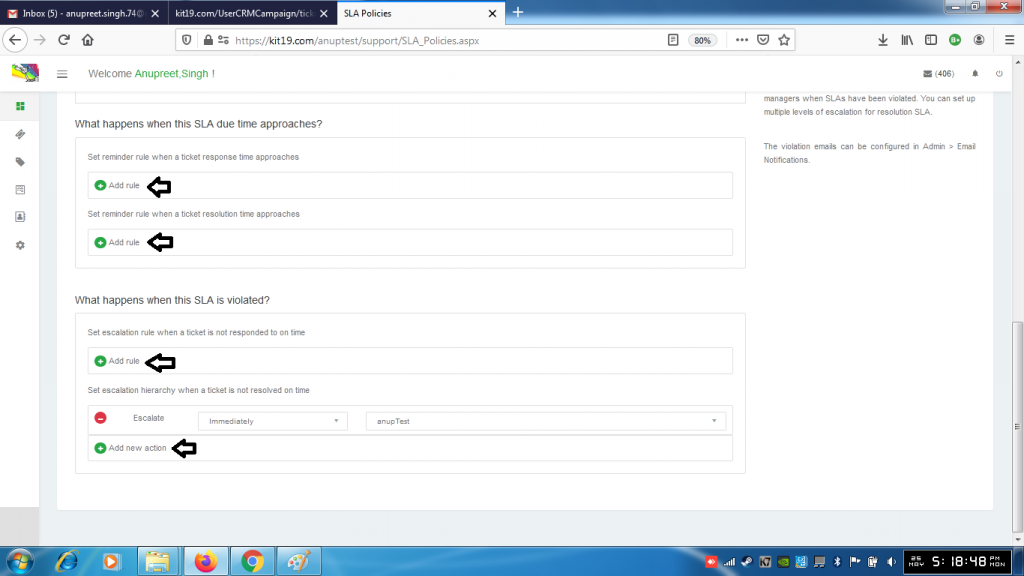
- To add a rule click the add rule button
- To add an action click add new button
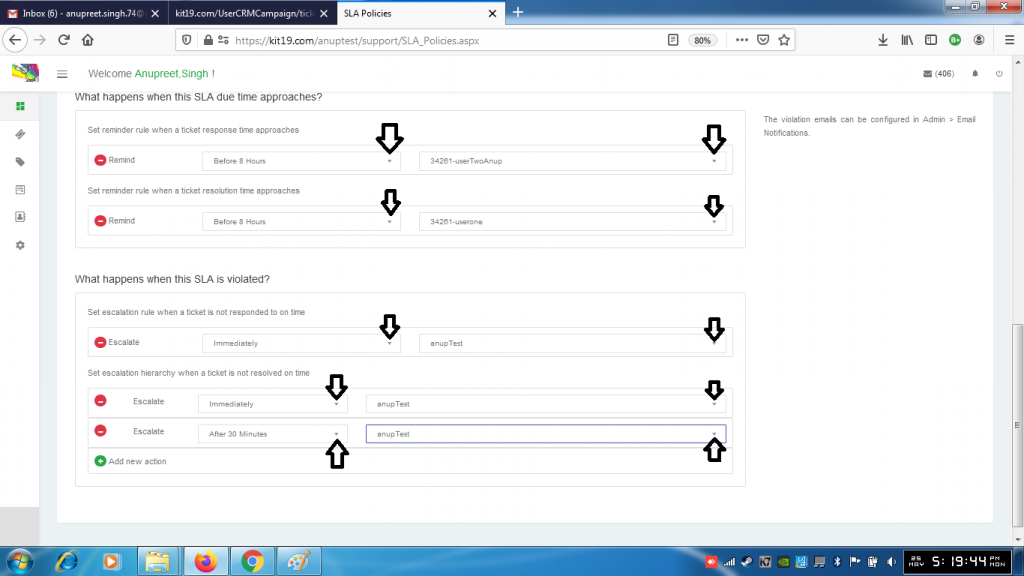
- Enter the options as shown in the picture above
- Click the save button
- To delete a rule or action click the red circle (with the – sign)

- To add a new SLA policy click the NEW SLA Policy button
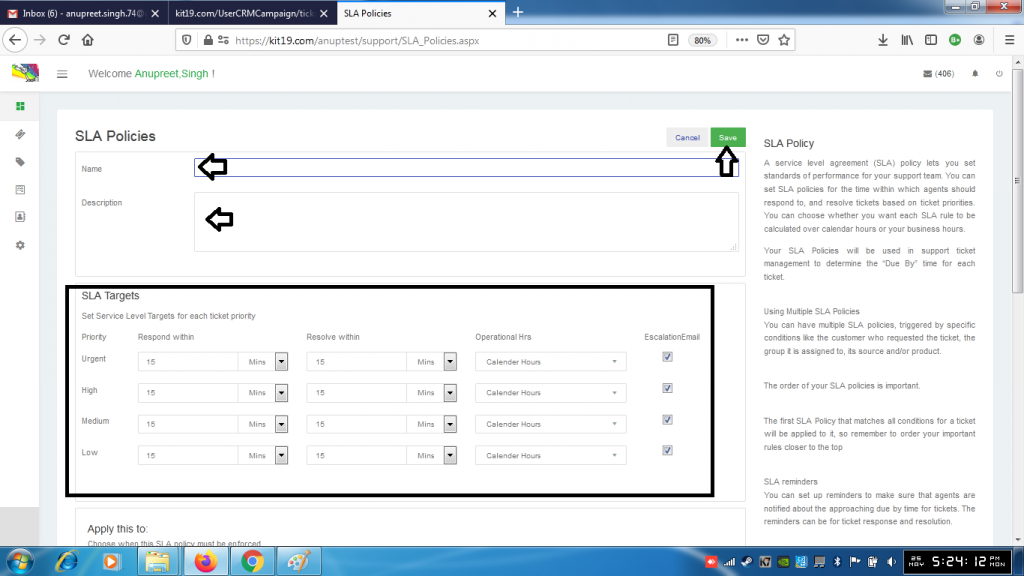
- Enter name
- Enter Description
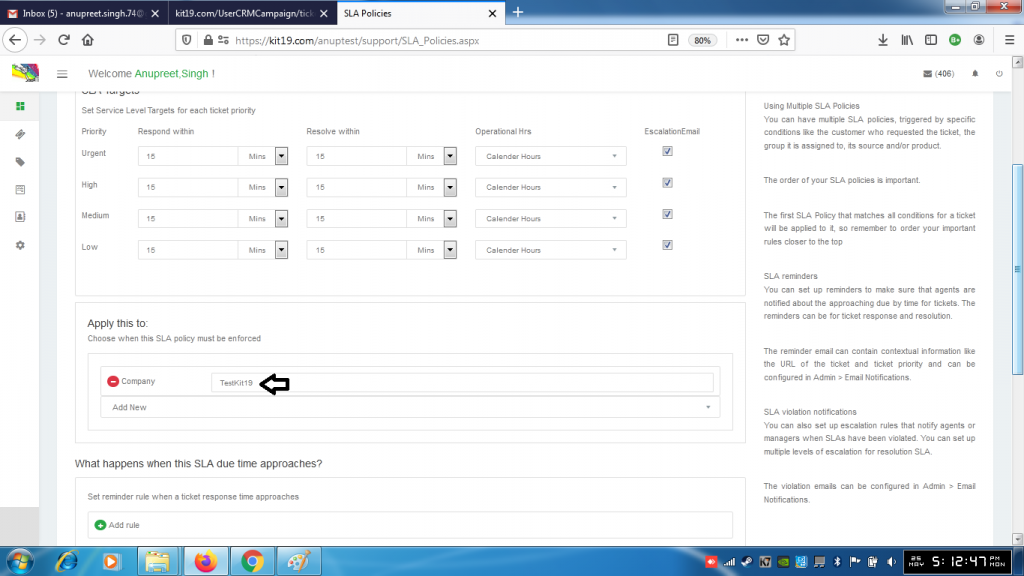
- Select SLA Targets
- Add rules
- Add Actions
- Click Save
A new SLA policy would be added to your support portal.
Note: SLA policy helps you add a target time in which customer’s concern has to be addressed and resolved. By doing this you can easily provide good customer service and also analyse the performance of your teams.